Projects – lens filter
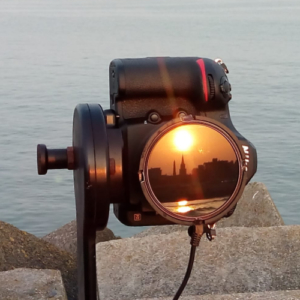
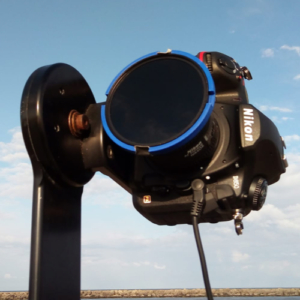
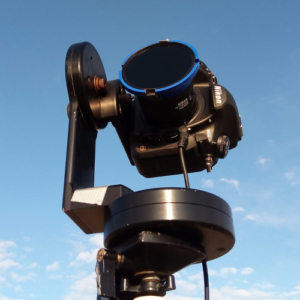
Our ‘square peg in a round hole’ solution to add a regular ND filter on a fisheye lens.
Our problem:
Shooting high quality, high resolution unclipped HDRI panorama’s with a fisheye lens, that preferably needs a ND lens filter.
For our Nikon camera there is a commercial solution available, but it is not really workable ‘in the field’.
Wide angle lenses from Nikon, for example the 10.5 mm and/or 16 mm, will need these filters to be placed – in-between – the camera body and the lens.
Adding or removing the filters is risky, especially when you are on location with dust, rain, wind etc.
So we put our thinking caps on, and started browsing the web too…
Design
After some research we already did in 2018, we reverted back to a old solution found on the dpreview forum from 2013, that had the basis for our solution.
Now with the 3D printing techniques becoming more accessible, we created a cheaper & easier alternative.
Solution
A open source printable filter holder for standard 77 mm filters. Simply download the 3D model and print it yourself, or send it to a 3D print store.
It can easily be adapted to other lenses from other vendors then Nikon by tweaking the blender file setup.
Testing
We’re still in the perpetual testing fase, but so far it is working fine.
The current testing is done with a ND filter ( ICE 77mm ND1000 Filter Neutral Density ND 1000 77 10 Stop Optical Glass ) for recording unclipped suns for HDR Photography. We advise you use this on a full frame camera, due the fact that the lens holder is visible on the outside of the frame. We’re still tinkering with the design, and trying to minimize the visible part of the lens holder even more.
3D to physical
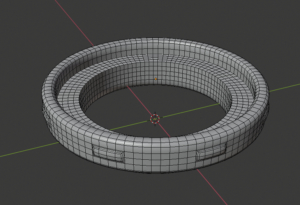
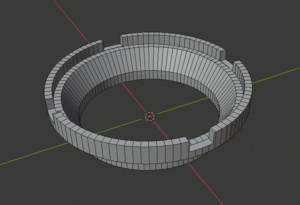
Blender is great for non-destructive prototyping, so we ended up with several designs in 3D space, which in the end resulted in two final designs for testing.
We had these two designs printed as a physical model via a Makerbot 3d printer. Blender can export 3d print files via the .stl option, so that was not an issue.
We bought the darkest, mattest black paint we could find to coat the printed model. This will get rid of the odd blue color of the print, and it’s easier to get rid off a black ‘rim’ during the creation and post-production of the HDRI file.
blender file
You can tweak the lensring for yourself by downloading the zip file containing the blender scene file, the .stl file and instructions PDF.
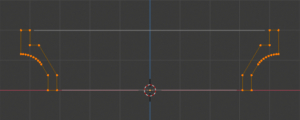
The filter ring is set up with a simple cross-section, that is revolved into full 360 geometry. It’s a simple matter of measuring the outer dimension of the fisheye lens, and the outer dimensions of the filter. Now change the cross-section for a fit.
There’s also a non-destructive way to change the amount of notches in the top part of the ring for easy placement of the filter.
When your changes are done, just export the scene to .ply or .stl for 3d printing. Use your favorite online printing service, or your 3d printer.
Suggestions & tips
If you might have additional questions or suggestions on the use or usage of the files, please do not hesitate to contact us.
We will try to help as much as we can, within our work schedules and personal time.
Colofon
We want to thank the Novu Atelier for printing the models for this project, and helping us with suggestions and tips.
Also a big thanks to Rob for the creation of the 3D models in Blender, and helping out with the .stl export files for print.
And not to forget the man who started this all, Bob from Dutch Skies 360° HDRI Panorama’s.
© Products and brand names are trademarks or registered trademarks of their respective companies. You know… legal stuff…

